Clipper
Shaves peaks through one of five circuits; the drive is cancelled afterwards so you hear only the shape.
Open the studio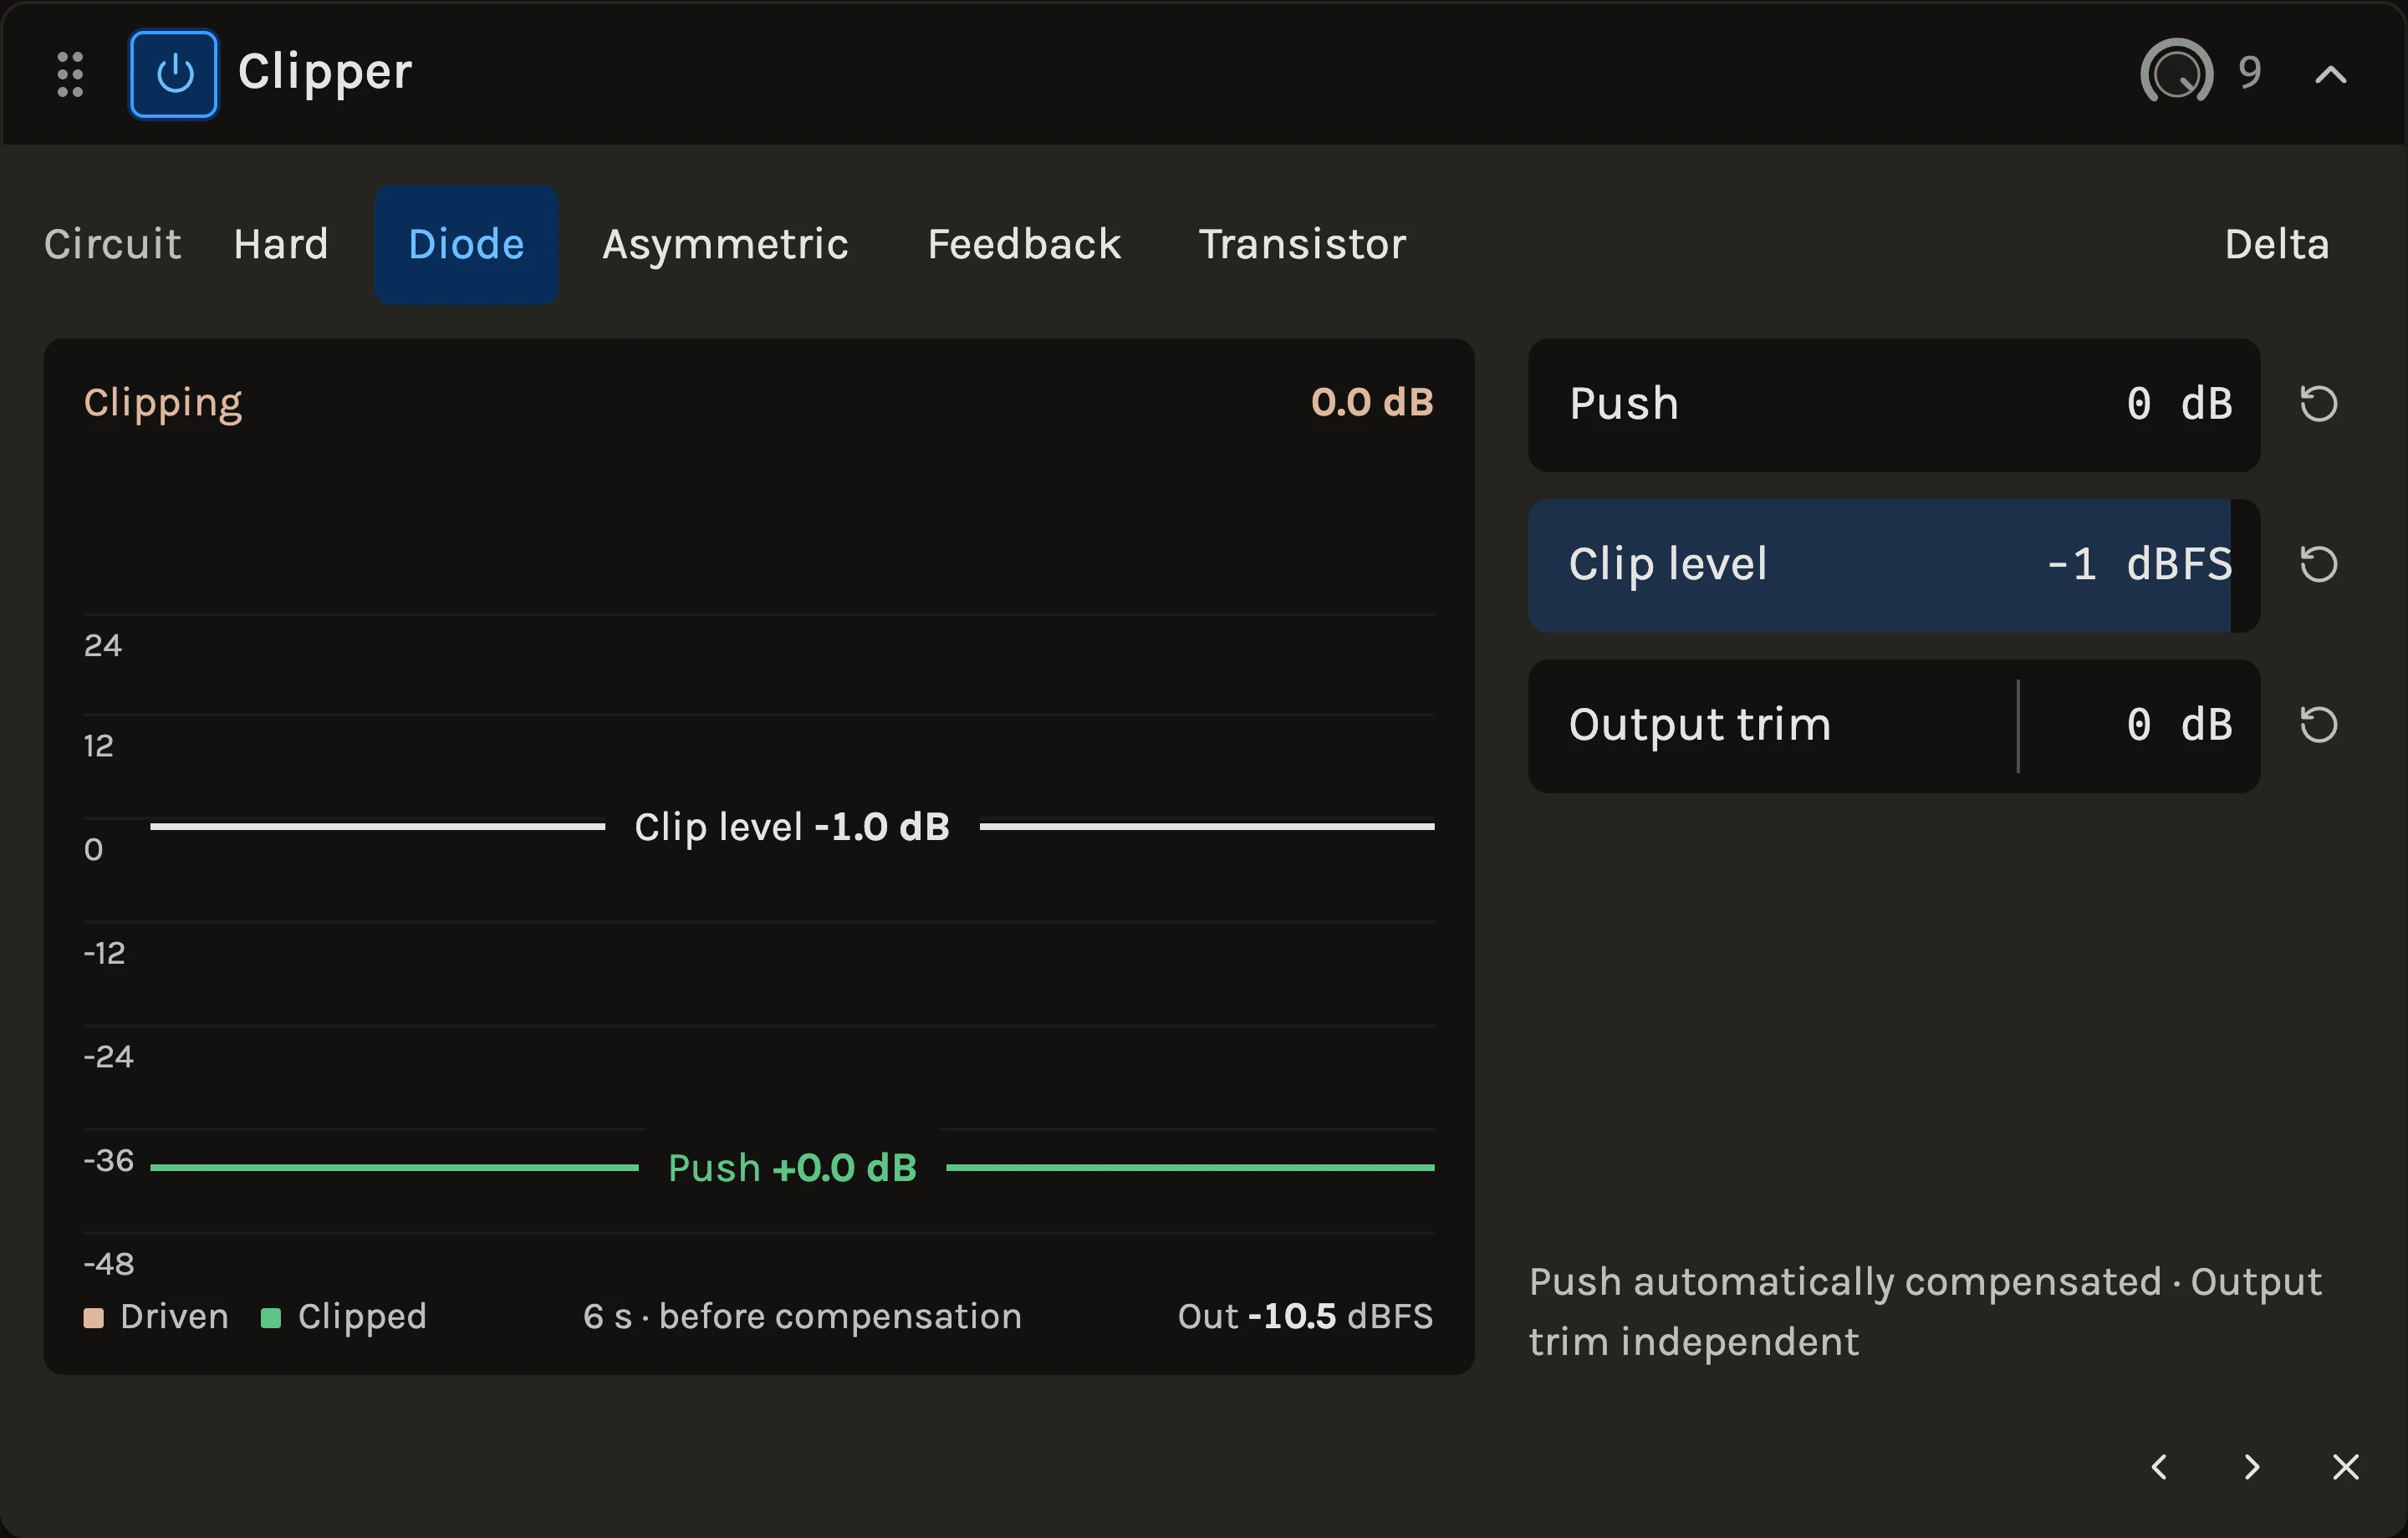
The Clipper cuts the tops off peaks instead of turning the whole signal down. Push the sound into a clipping circuit and the transients lose their height while everything underneath stays exactly as loud; the drive you add is cancelled again on the way out, so what you hear is the shape of the clipping, not a volume change. Five circuits give the clip a different edge, from a mathematically precise cut to the rounded saturation of a transistor pair.
When to use it
Use it on drums to take the spikes off a snare or kick before a compressor, on a bus to gain a few decibels of headroom without the pumping of a limiter, and as a light saturator wherever a rounded edge suits the sound. Put it before the Limiter on a master so the limiter has less to catch. For deliberate destruction use Crush Lab; for tape and preamp warmth, the Color Box.
Controls
Circuit
Hard is the precise reference: everything above the line is cut flat. Diode, the default, is two opposing silicon diodes with a rounded knee that keeps rising a little. Asymmetric clips negative peaks later than positive ones, which is punchy and sits between Hard and Diode. Feedback places the diodes in an amplifier’s feedback path, leaving peaks room to keep growing. Transistor is a matched pair with a broad, progressive saturation. Switching circuits is smooth.
Push
How hard the sound is driven into the circuit, from 0 to 24 dB. The gain is cancelled afterwards, so more Push means deeper clipping at the same output level. The lower handle on the graph is this control.
Clip level
Where the clipping starts, −1 dBFS by default. It is the threshold before compensation, not a guaranteed output ceiling.
Output trim
An independent level adjustment after everything else.
Delta
Hear only what the clipping removes, at the original input level and before Output trim. The removed signal is often tiny, which is the point.
The six-second graph draws the Driven and Clipped peak envelopes and the clipping depth over time; Out shows the actual output peaks after the rack’s wet/dry blend. The circuits run at eight times the sample rate, so audio that never reaches the line passes through unchanged.
Tips
- Raise Push while watching the Clipping readout, and stop when the clipping starts to change the tone of the hits rather than just their height.
- Compare circuits on the same passage with Delta on: what you hear being removed is exactly what differs between them.
- The rack’s wet/dry blend gives parallel clipping: a fully clipped copy under the original adds density without flattening the hits.
All control ranges 3 controls
| Control | Range |
|---|---|
| Push | 0 to 24 dB |
| Clip level | -24 to 0 dBFS |
| Output trim | -24 to 12 dB |
Keep shaping your sound.
There’s a whole rack to explore.